How to add a photo inside text in Photoshop
You probably have seen some texts that have a picture inside the letters which makes the text more effective and beautiful.
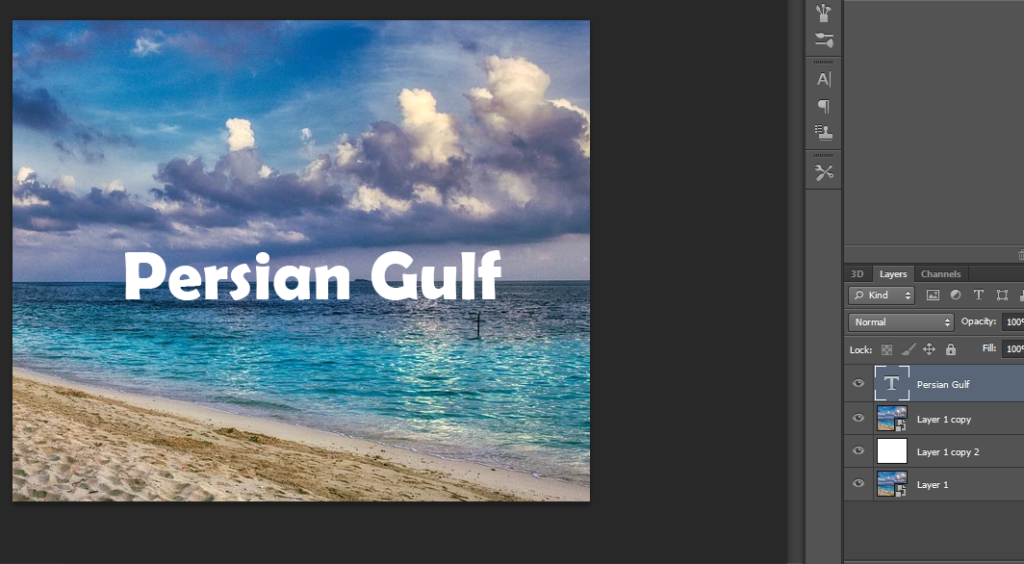
In this post we want to show you how just in a few steps you can make a text with a beautiful picture inside the letters as the example below:

- Open your desired picture in Photoshop
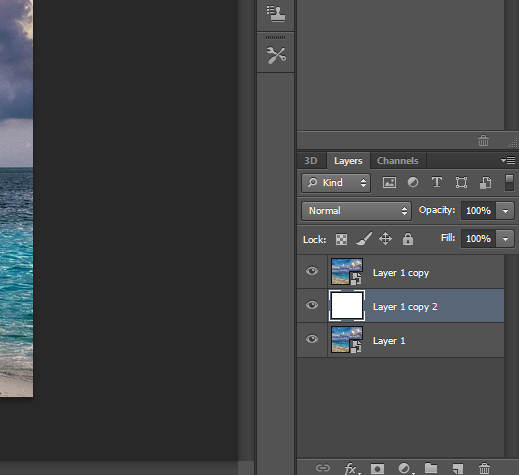
- Create 2 other copied layers of the original photo (by right clicking on the layer and choosing Duplicate Layer)
- Make the middle layer a white screen (click on the middle layer and from the Edit tab choose Fill and then choose white and click Ok)
4. Type your text on the highest layer:
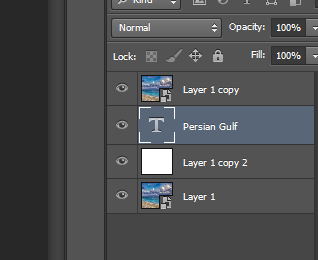
5. Move the text layer to the second highest layer by dragging it:
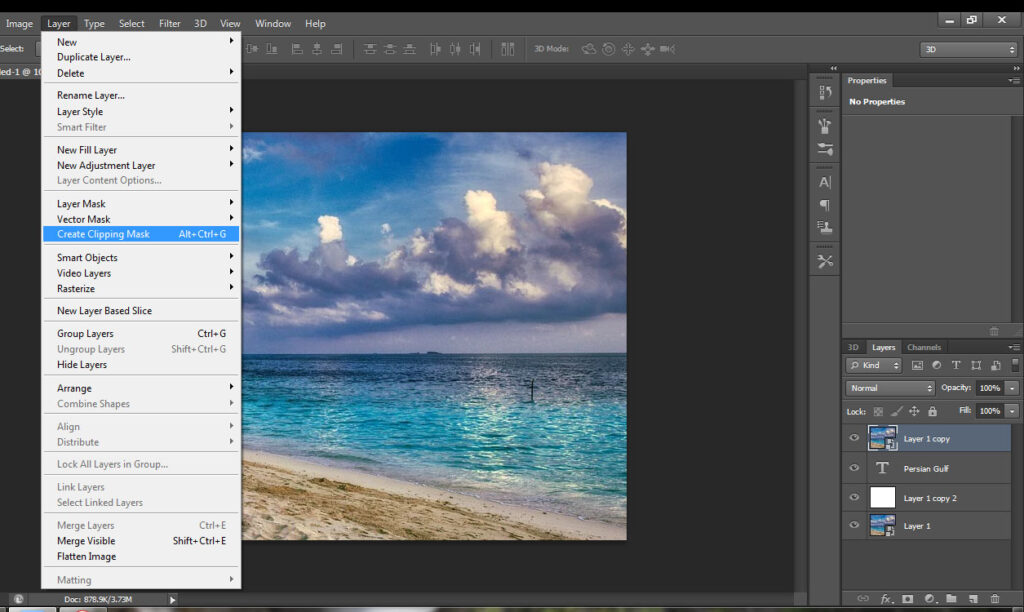
6. Now click on the first layer and from the Layer tab choose “Create Clipping Mask”
7. If you followed the steps correctly, this should be the result:
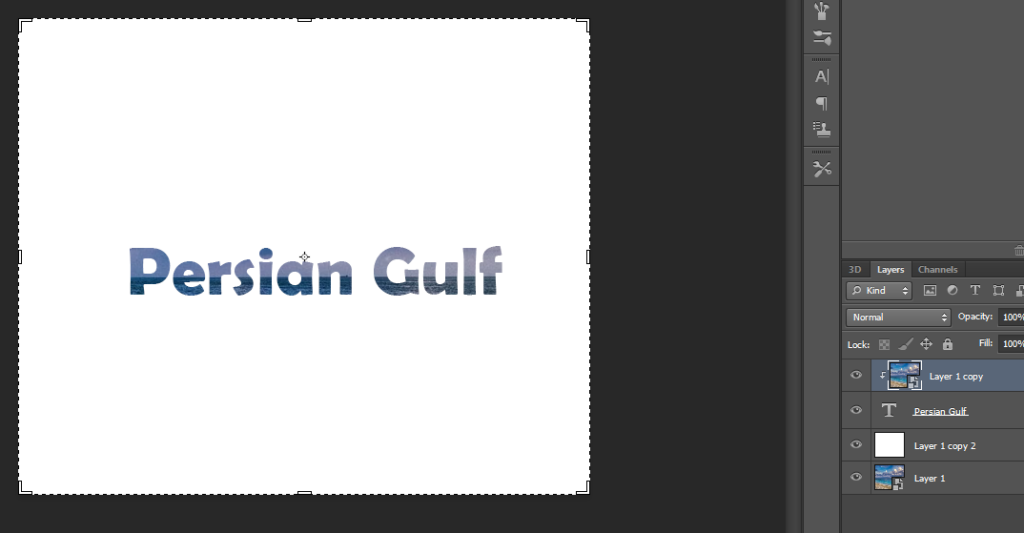
Note: Make sure to select a bold font so the picture would be visible inside your text.